Method One
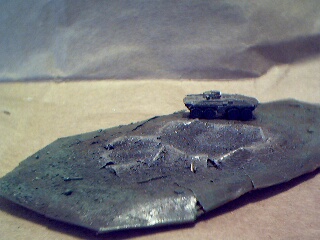
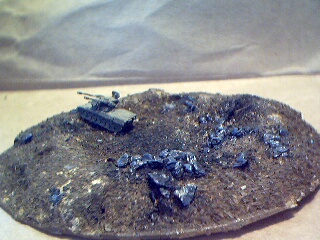
This is a variation on the craters built by Dave Capon at TerraGenesis. But instead of using polystyrene and filler, I use Cardboard scraps and tape. The crater in the picture is based on an old CD I received in the mail (The miniature in the picture is a Geppard by GHQ - and by the size it looks like the crater was made by a Very Large Gun!).
To start out with, prepare your base and then lay out the scraps in a circular shape -- by using wider scraps at the bottom and thinner ones at the top you can make a more sloping edge for the crater. Cover the scraps with strips of tape. Make sure you cover all the cardboard to give the slope a more uniform look. It may look good to pinch the tape into an edge at the point where the tape begins to slope back down to the center of the crater to make a rim.
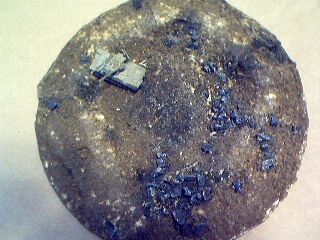
Cover the crater with PVA glue and then cover with dirt, sand, or sawdust (or a combination of the three). Make sure no tape is showing. When it dries add rocks, kitty litter, and any other bits to represent rubble and wreckage. Undercoat the crater with black or dark brown. When dry, add patches of the color you didn't use for the undercoat (I.E. If you used black for the undercoat, then add patches of black). I've done most of my craters brown with black burn patches, but you could undercoat with black and then dry-brush brown -- it will just give a different effect. I've been dry-brushing tan around the rim to highlight it, especially where I've made the rim. The "rubble" I dry-brush dark gray.